How to browse Use the list to jump to a part or a route stage. Sort order is reading order, not a power ranking. The ranking lives on the tier list, and each part's detail lives under Parts.
Parts catalog Engines, fuel, wings, jets, and crates.
Routes Early, middle, and far stretches.
Search the published entries Name, type or unlock condition 15 entries
Published entries Entry Category Notes Seat Equipment The driver's seat. Keep it low and centered so the first turn does not roll the car. Structure Blocks Equipment The frame other parts sit on. Build the shortest base that fits the car, because extra blocks add weight. Wheels Equipment Four matched wheels. Symmetry matters more than a named wheel tier nobody has published.
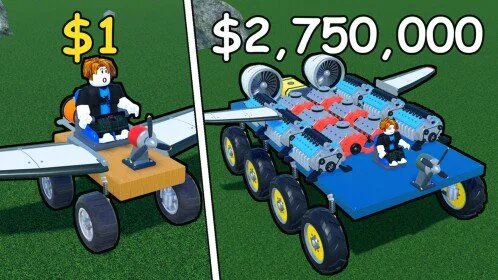
Published entries continued (2) Entry Category Notes Engines Equipment Crate engines. Test a new one on the same chassis and fuel before you call it an upgrade. Fuel Tanks Equipment The range part. More capacity extends a run, and extra tanks also add weight. Rockets Equipment Burst thrust. Mount rockets on the centerline and use them for a planned shove, not the whole trip. Wings Equipment Lift. Use a matched pair on a car that can already finish a ground run. Propeller Engines Equipment The learner's air engine. Center it, pair it with mirrored wings, and bring a real tank. Jet Engines Equipment Highest thrust in the flight coverage. Fuel and a centerline mount decide whether it earns distance. Engine Crates Equipment A random engine. Keep enough coins to refuel if the pull is worse than what you drive.
Published entries continued (3) Entry Category Notes Airplane Engine Crates Equipment The roll for propeller and jet engines. Open them after you can already fly a light wing set. Cosmetic Blocks Equipment Looks only. Buy them after a ground car finishes runs on purpose. Early Ground Map & Routes The first stretch. Finish it on wheels before you spend on flight. Middle Transitions Map & Routes Steeper ground and fewer easy recoveries. Drive until a landmark, then climb only if fuel allows a landing. Far Routes Map & Routes The long part of the map. Fly it only with a landmark you can reach and fuel left to land.