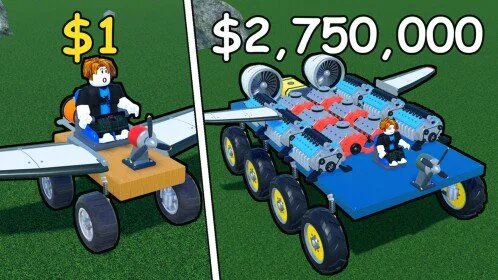
How this ranking was chosen
The letter is about going farther on the current loop: finish the tank, then add thrust you can fuel. S is something that changes almost every clean run once you are ready for it. C is something that looks like progress and usually shortens the run. Shop prices are omitted because they are not published. Compare any big purchase with your own numbers in the payback calculator.
- Distance builds
Three builds that follow the same order without fake part prices.
S tier
Player decision Buy or roll fuel when runs end on an empty meter. Test one layout with fewer tanks before you stack more, because weight can erase the extra capacity.
Player decision Mount one jet on the centerline only after a ground car already earns and the tank covers a medium hop. Keep the money car separate.
A tier
Player decision Learn flight on a propeller and mirrored wings. Move to a jet when the same route still has fuel at the landmark.
Player decision Add a mirrored pair to a copy of a working car before you increase thrust. If takeoff rolls, fix the wings before the next crate.
Player decision Open an engine crate after fuel and balance are honest, and keep a coin floor. Shelve a pull that loses three tests to the engine you already drive.
Player decision Open them when you already have mirrored wings and a ground income. Early sessions get more from fuel and a normal engine crate.
B tier
Player decision Place four wheels before you buy a better set. Upgrade them when the car is fast enough to break traction, not before the first payout.
Player decision Mount them in pairs on the centerline after an engine exists. If the car rotates, move the boosters before you buy another one.
Player decision Build the shortest base that fits the seat, wheels, engine, and a later tank. Add structure to fix a specific flex or tip, not to decorate the earner.
C tier
Player decision Skip them until a ground car finishes runs on purpose. They are the spend that build sheets tell new players to avoid.