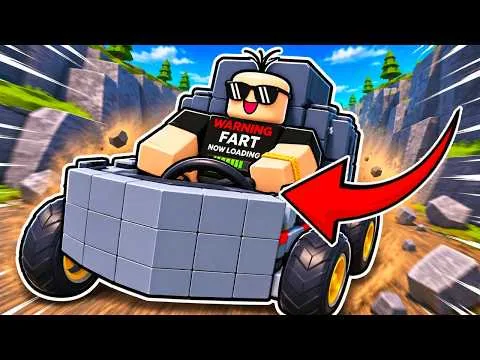
Your first car only has to roll straight, burn a full tank, and pay coins. A record can wait until that loop is boring.
Build a Car to Go Far is a Roblox vehicle sim by Runworks, place 94998162120172, released 8 September 2026. The official loop is: build in the garage, drive as far as the car will go, take coins for the distance, open crates for better engines and rockets, add wings and jets to fly, build with friends, and leave a car earning while you are offline.
First ten minutes
- Join from the official Roblox page and spawn at the garage. Walk the part panels before you commit to a layout.
- Place a seat on a short structure base, centered, low enough that the first turn does not tip the car.
- Put four wheels in a rectangle, two each side, so the car sits level. One-sided wheels waste the run.
- Mount one engine on the centerline, low, ahead of the middle if the chassis allows it.
- Add fuel. The Fuel readout sits at the top right next to the Boost meter. Acceleration spends fuel. An empty tank only creeps if the car is on a slope.
- Sit in the seat and drive the open path. Smooth throttle beats a launch that flips.
- Bank the coins, then buy fuel or one better engine before any cosmetic block.
On PC, a 19 November 2026 play guide reports these binds: W A S D to move, Space to jump, E to interact, number keys 1–6 to equip a part, left click to place, and Left Shift to boost while driving. If a bind feels wrong, check the Roblox key map and the on-screen prompt before you rebuild the car. Full device notes are on the controls guide.
What to spend first
Played guides and the crate loop agree on this order:
| Order | Spend | Why it comes first |
|---|---|---|
| 1 | Fuel that your current engine can actually use | A dry car stops earning, even if the engine is strong |
| 2 | One better engine from a crate, tested on the same chassis | Thrust only helps if the frame already drives straight |
| 3 | Wheel or structure fixes if the car spins or tips | Control is free distance |
| 4 | A crate you can afford without emptying the refuel wallet | Crates are random; keep coins for the next tank |
| 5 | Wings, propellers, or jets | Flight adds mass and a new way to crash |
Some build sheets say "engine first, then fuel." Others say "fuel first, then engine." Both are trying to stop the same failure: a fast car that dies early earns less than a slower car that finishes. If your runs end on an empty Fuel meter, buy capacity or remove weight. If the meter still has fuel when you crash or bog down, the engine or the wheels are the limiter.
Exact coin prices are not on the official listing. Do not trust a table that prices a "V8" at a few thousand coins unless you can see that part, at that price, in your own shop. Community sheets use starter, mid-tier, and jet as stage names. The shop you can verify is the Parts Shop crate pools: Engines, Structure, Wheels, Fuel, and Utility.
Keep two cars
Leave one grounded car as the money car. Use a second build for rockets, wings, and crate experiments. A bad airplane-crate pull should not be the only car you can drive when you log off. Offline coins are part of the official loop; the practical checklist is on earn coins.
Day-one mistakes
- Wheels on one side, or a seat so high the car rolls on the first steer.
- Boosters mounted high or off to the side. Utility thrust in the wrong place spins the car instead of pushing it.
- Stacking every block you own. Extra mass asks the same engine to do more work.
- Opening crates until the wallet is zero, then having nothing left to refuel.
- Chasing a flying record before one clean ground payout.
When the first payout feels repeatable, move to how to build for placement, then crates and rockets before you spend a session on rolls.